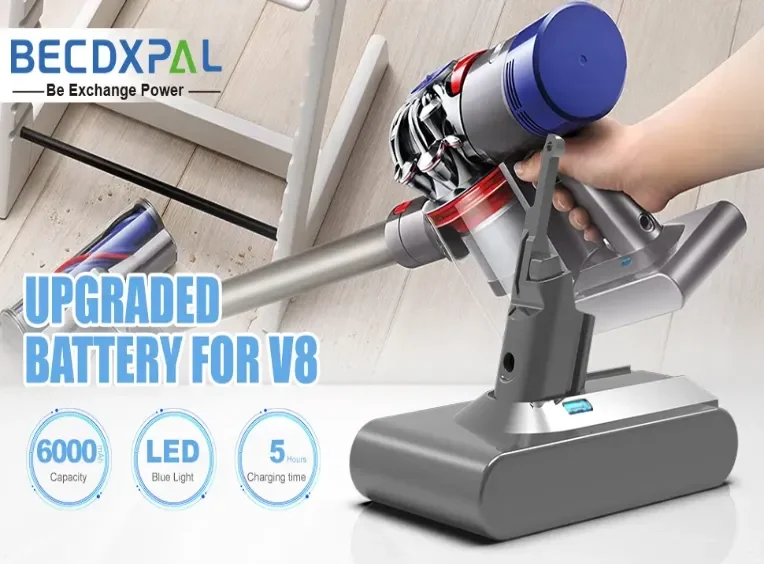
Complete Guide to Dyson V8 Battery Replacement
The Dyson V8 battery requires precise mechanical and electrical specs: clip spacing of 22.3 ± 0.1 mm and a two-pin spring-latch connector, plus SMBus for BMS communication. Verify capacity with a 5 A constant-current discharge (≥ 90 % rated capacity) or a runtime test, and ensure voltage sag stays below 0.5 V under a 2–5 A load. To replace, power off and wait 10 min, remove the old pack at 45°, insert the new one until it clicks, then hold Power + Reset for 15 s. For BMS lockouts, charge on an OEM Dyson charger for four hours or apply a controlled 3-s contact bridge per safety guidelines. Clean contacts monthly with isopropyl alcohol, store at \~50 % charge in 10–25 °C, and avoid extreme temperatures. Troubleshoot power failures, LED errors, rapid drain, overheating, and recognition issues by checking seating, contacts, voltage, and SMBus compatibility.

Dyson V8 Battery Compatibility
Dyson V8 batteries require an exact mechanical and electrical match to operate safely and deliver full performance. The pack’s clip spacing must align precisely with the V8 rail (22.3 ± 0.1 mm), and its two-pin spring-loaded connector must seat flush to engage the vacuum’s battery management system. Electrically, replacement packs must support Dyson’s SMBus handshake protocol for voltage balancing and temperature monitoring. Cells should offer at least 2 600 mAh at 21.6 V and integrate protection circuitry against over-charge, over-discharge, and thermal events to ensure reliable, fade-free suction.
Physical Fit and Connector
-
Clip Spacing: 22.3 ± 0.1 mm for the rail alignment
-
Connector: Two-pin interface with spring-loaded latch
Electrical Protocol
-
Uses SMBus for battery-management communication
-
Ensure any replacement pack supports the same handshake protocol
Performance Testing Methods
Capacity Verification
-
Professional: Constant-current discharge at 5 A, expecting ≥ 90 % of rated capacity
-
DIY: Vacuum a known weight of debris until shutdown and compare to OEM runtime
Voltage Sag Test
-
Measure open-circuit voltage (≈ 25.2 V fully charged)
-
Under a 2–5 A load, sag should remain below 0.5 V
Replacement and Reset Process
To replace and reset your Dyson V8 battery, first power off the vacuum and detach the wand assembly. Press the latch at the base of the handle to slide out the old pack, then align the new battery’s clip rails (22.3 ± 0.1 mm apart) and two-pin connector, pushing firmly until it clicks into place. Next, connect the unit to the official charger to initiate the SMBus handshake and fully charge the pack—this step resets the battery management system’s fuel gauge and cell-balancing logic. Once the green light illuminates, unplug and run the vacuum on low power for two to three minutes to calibrate voltage readings under load. Finally, allow the battery to rest for thirty minutes before a second full charge; this cycle confirms that the BMS recognizes the new pack and delivers accurate runtime information, restoring your V8 to peak suction performance.
Safe Installation
-
Power off vacuum and wait 10 minutes
-
Slide back cover, remove old battery at a 45° angle
-
Insert new battery until it clicks
-
Hold Power + Reset buttons for 15 seconds
Emergency Reset (BMS Lockout)
-
Charge on OEM charger for 4 hours
-
If lock persists, perform a controlled contact bridge for 3 seconds (see safety guidelines)
Troubleshooting Common Charger and Battery Issues
-
No Power or LED Errors: Check seating, clean contacts, verify battery voltage
-
Rapid Drain or Overheating: Test for cell imbalance or poor thermal management; inspect venting
-
Battery Not Recognized: Confirm correct connector alignment and SMBus support
Preventative Maintenance Tips
-
Clean battery contacts and vacuum rails monthly with isopropyl alcohol
-
Store batteries at ~50 % charge in a cool, dry place (10 °C–25 °C)
-
Avoid extreme temperatures during operation and storage
FAQ
-
Why won’t my vacuum recognize the new battery?
Check that the clip spacing and communication protocol match the V8 specification. -
Can I use a third-party charger?
Only use chargers rated for 21.6 V Li-ion that support the V8 charge curve and SMBus handshake. -
How do I test cell health?
Use a multimeter to measure voltage under load and compare sag to acceptable thresholds.
Conclusion
By confirming compatibility, performing performance tests, and following proper installation and maintenance practices, you can replace your Dyson V8 battery confidently and keep your vacuum running like new.