
How Can You Troubleshoot a Craftsman 19.2V Battery That Won’t Charge?
This guide explains safe, step-by-step troubleshooting for a Craftsman 19.2V battery that won’t charge. It covers essential safety precautions, quick checks to rule out charger, outlet, or contact issues, and methods for inspecting, cleaning, and testing voltage under load. It explains NiCd vs Li-ion differences, how to detect high internal resistance or BMS lockouts, and when advanced repairs are warranted. It also details replacement criteria, recycling protocols, and a streamlined on-site diagnostic workflow.
What Safety Steps Should You Take Before Troubleshooting?
Before touching a faulty battery pack, the priority is to prevent injury, property damage, or fire. Electrical faults in power tool batteries can escalate quickly, especially in confined or poorly ventilated spaces. Always ensure the following:
-
Do not attempt to charge, open, or handle packs that are swollen, leaking, excessively hot, or emitting smoke.
-
Isolate and label the pack clearly as “DO NOT USE”; cover terminals with non-conductive tape before moving.
-
Work in a dry, well-ventilated area, away from flammable materials.
-
Wear insulated gloves and safety goggles.
-
Disconnect chargers from mains power before inspection.
-
In case of smoke, a burning smell, or visible flames, treat the incident as an active electrical fire — use a Class D or ABC extinguisher and follow emergency protocols.
What Quick Checks Can Rule Out Simple Issues?
Many “dead” packs are sidelined by trivial issues like dirty contacts or a bad wall outlet. Run this quick, low-risk triage before using tools or meters.
| Step | Action | Why It Matters |
|---|---|---|
| 1 | Inspect charger LED indicators | Confirms charger power and status |
| 2 | Verify wall outlet with another device | Rules out mains supply failure |
| 3 | Clean battery/charger contacts with ≥70% isopropyl alcohol | Improves electrical conductivity |
| 4 | Try a different charger or outlet | Isolates pack vs charger faults |
| 5 | Test pack in another compatible tool | Confirms if fault is tool-specific |
| 6 | Measure open-circuit voltage (OCV) | Provides baseline battery health reading |
What Should You Know About This Pack Before Testing?
Understanding the pack’s specifications and chemistry is critical — testing methods differ between chemistries.
-
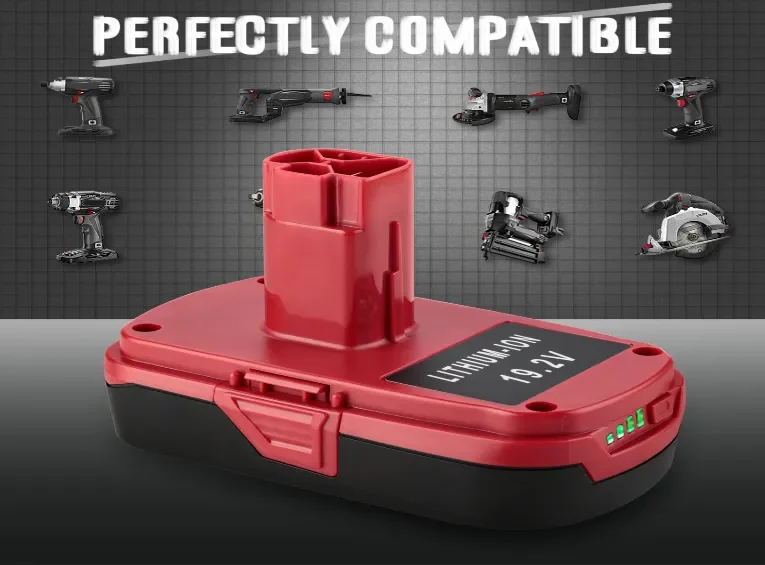
Nominal Voltage: 19.2V (confirm on label).
-
NiCd/NiMH variants: Typically 16 × 1.2V cells, ~19.2V when fully charged.
-
Li-ion variants: 5 × 3.6–3.7V cells in series; full charge ~21V.
-
Protection electronics: Li-ion packs often have a BMS; NiCd/NiMH usually do not.
-
Effect on testing: Li-ion BMS may lock out at low voltage, requiring a “wake” attempt.
How Do You Diagnose and Apply Fixes Step-by-Step?
Step 1 — Visual & Basic Inspection
-
Check for cracks, melted casings, swelling, corrosion, or loose components.
-
Immediately retire packs showing swelling or burnt odor.
Step 2 — Contact Cleaning & Reseating
-
Clean terminals with ≥70% isopropyl alcohol; let dry completely.
-
Ensure pack locks firmly in place without wobble.
Step 3 — Charger & Outlet Verification
-
Check charger LED lights from a known-good outlet.
-
Swap to a confirmed-working charger to confirm fault location.
Step 4 — Voltage Measurement (OCV)
-
Use a digital multimeter (DMM) across pack terminals.
-
Healthy NiCd/NiMH OCV: ~19–20V after full charge; Li-ion OCV: ~20–21V.
-
OCV near zero: possible deep discharge, shorted cells, or BMS lock.
Step 5 — Load Test (Voltage Sag)
-
Use a ~10 Ω, 10W resistor (~1.9A load at 19V) or calibrated tester.
-
Record V_load and calculate sag:
sag = OCV − V_load. -
Sag >2V typically indicates high internal resistance and cell degradation.
Step 6 — Attempt BMS/Protection Reset
-
Wake method: Leave pack on charger for 10–30 minutes, then retry.
-
For Li-ion, running in a low-draw tool until cutoff, then recharging, can reset some BMS systems.

Which Advanced Tests Are Only for Experienced Technicians?
These steps involve higher risk and should only be attempted with proper tools, PPE, and training:
-
Cell-level voltage check: Identify imbalance or dead cells.
-
Spot-welding/soldering: Replace with identical Grade-A cells only.
-
PCB inspection: Look for burnt components or blown fuses; replace with exact rated parts.
-
If unsure, stop and refer to a certified repair service.
When Should You Replace Rather Than Repair?
| Replace Immediately If… | Why |
|---|---|
| Voltage sag >2V under 1–2A load | Indicates severe internal resistance |
| Rapid self-discharge | Cells cannot hold charge safely |
| Physical damage (swelling, leakage, burn marks) | High fire risk |
| Multiple charger/tool failures | Confirms pack fault |
| Repair cost >50% of replacement | Uneconomical and risky |
How Should You Dispose of or Recycle a Faulty Pack?
Improper disposal can cause fires during transport or in waste facilities.
-
Cover all terminals with non-conductive tape.
-
Never dispose of in household trash.
-
Use certified e-waste centers or retailer take-back programs.
-
Place damaged packs in non-combustible containers for transport.
Quick On-Site Troubleshooting Workflow
-
Inspect for damage.
-
Clean & reseat contacts.
-
Test charger & outlet with known-good device.
-
Measure OCV with DMM.
-
Load test (~1–2A) and check sag.
-
If sag >2V or damage present → retire pack.
Technician FAQs
Q: Charger LED is green but pack won’t charge — what’s faulty?
A: Test the pack in another tool. If it fails, the pack is at fault; if it works, the charger/tool is suspect.
Q: Can I jump-start a 19.2V pack?
A: Not advised — risk of damaging BMS and causing a fire.
Q: Is cell replacement cost-effective?
A: Only for high-end packs; for most DIYers, certified replacements are safer and more economical.