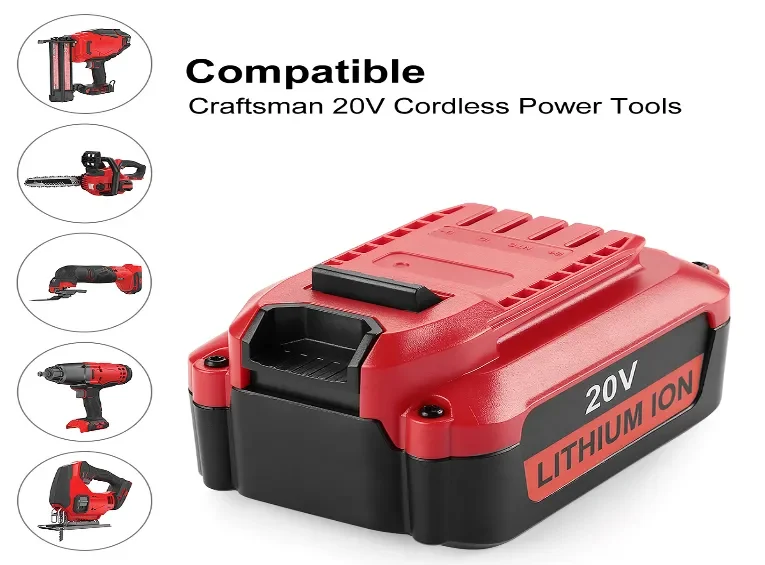
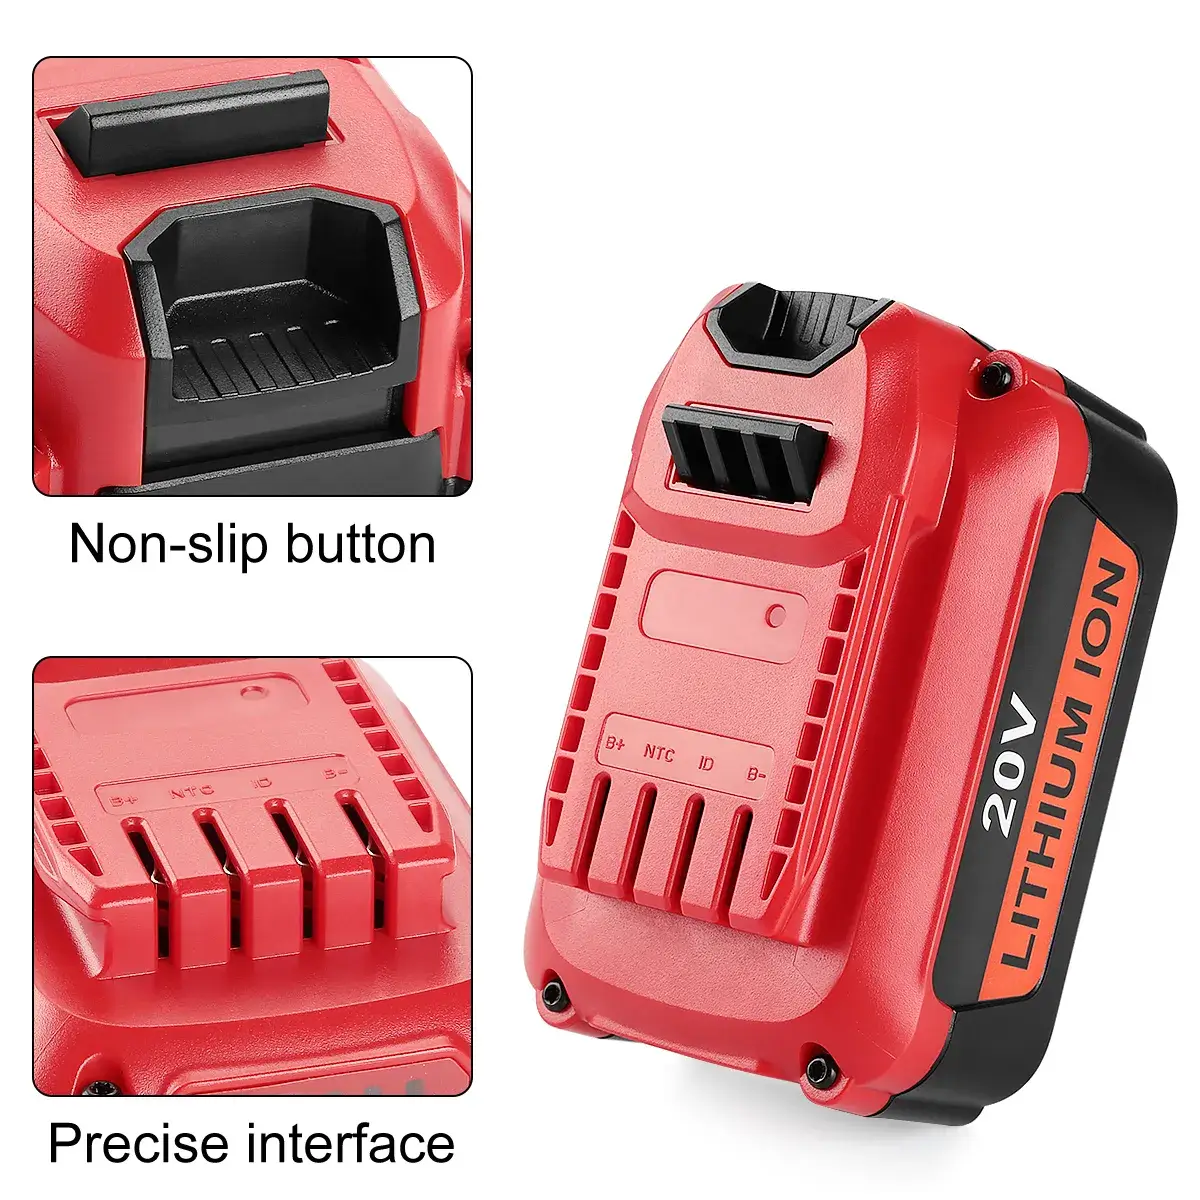
How Can You Troubleshoot a Craftsman 20V Battery That Won’t Charge?
This guide takes you from a 3–5 minute triage through reliable electrical tests (OCV + under-load), BMS recovery attempts, and advanced cell/PCB checks for experienced technicians. At each step you get clear pass/fail thresholds and field-ready instructions you can copy to a job card.

What does this workflow deliver?
-
A 3–5 minute triage to rule out outlet/charger issues.
-
Repeatable electrical checks: Open-Circuit Voltage (OCV) and a 10 Ω load sag test.
-
Low-risk BMS “wake” procedures to attempt recovery of BMS-locked packs.
-
Advanced inspection steps for pros (cell groups, PCB, solder joints).
-
Clear replace/repair triggers and safe disposal instructions.
Safety first — non-negotiable checks
-
Do not test swollen, leaking, smoking, or very hot packs — isolate on a non-combustible surface and recycle.
-
Work on a non-conductive bench with insulated gloves and eye protection.
-
Never short terminals or bypass protection — use insulated leads and clips.
-
Confirm pack chemistry (Li-ion) and nominal voltage before any test.
-
Keep an appropriate extinguisher nearby during active diagnostics.
Industry note: Damaged Li-ion packs can escalate quickly. When in doubt, isolate and recycle.
Tools you need (minimal, field-ready)
-
Digital multimeter (DC volts, 0–30 V range recommended).
-
10 Ω, 10 W resistor (≈1.8–2 A at ~19–20 V) or a known-good tool for live load.
-
Insulated alligator clips / leads, stopwatch/phone timer, notebook/phone log.
-
70%+ isopropyl alcohol and lint-free cloth for terminals.
-
Optional: IR thermometer, known-good charger, known-good battery.
3–5 minute quick triage (fast rule-outs)
-
Verify outlet: plug in a lamp or phone charger.
-
Inspect charger cable & plug for damage.
-
Plug charger into the outlet and note LED behavior.
-
Clean battery and charger terminals with isopropyl alcohol; dry, reseat.
-
Try a known-good battery on the charger and the suspect battery in a known-good charger or tool.
If the suspect battery still fails, continue to the electrical tests below.
Watch charger LEDs — record patterns
Record LED patterns and compare with the manual:
-
Steady green — charged/standby (note: sometimes a false positive).
-
Steady red / pulsed red — charging / temperature condition.
-
Alternating red/green or rapid blink — communication/BMS fault.
If a known-good battery shows the same error, suspect the charger. If only the suspect pack trips the charger, suspect the battery (BMS or cells).
Check charger no-load output (safely)
-
If the charger has exposed DC terminals, measure DC output with no battery attached (DMM set to DC volts).
-
Expected no-load output is typically in the low-20 V range for a 20 V system — read the label.
-
If output is 0 V or far off spec → replace/repair the charger.
Note: Some smart chargers output full voltage only after a handshake; if so, test by comparing behavior with a known-good battery.
Measure battery Open-Circuit Voltage (OCV)
-
Attempt a charge; then let the battery rest 10–20 minutes.
-
Set DMM to DC volts and measure across pack terminals.
-
Craftsman 20V Li-ion full OCV ≈ 21.0–21.6 V.
-
Red flag: OCV < ~15–17 V after a charge attempt indicates deep discharge, internal short, or BMS lock — likely a pack fault.
OCV indicates SOC and whether the BMS will allow charging. Normal OCV + poor under-load performance = high internal resistance.

BMS “wake” / soft recovery (non-destructive attempts)
Try these low-risk methods before deciding replacement:
-
Charger warm-seat: leave pack on original charger for 10–30 minutes — some BMSs need time to initialize.
-
Low-draw wake: place pack in a low-current tool or small lamp and run until cutoff; rest 30–60 minutes; retry charging.
-
If the pack revives intermittently, it likely has marginal cells or an aging BMS — plan replacement soon.
Repeated trips or unstable recovery point to failing cells or BMS and require replacement.
Under-load voltage check — 10 Ω load test (field method)
This test exposes internal resistance quickly.
Procedure (resistor method):
-
Record OCV. Attach a 10 Ω, 10 W resistor across terminals with insulated clips.
-
Immediately measure V_load while the resistor is connected (do not hold long).
-
Estimate current:
I ≈ V_load ÷ 10. -
Compute sag:
ΔV = OCV − V_load.
Pass / Fail thresholds
| ΔV (OCV − V_load) | Interpretation |
|---|---|
| ≤ 1.0 V | Healthy — delivers ~2 A well |
| 1.0–2.0 V | Marginal — aging cells; schedule replacement |
| > 2.0 V or collapse | Fail — replace pack |
Tool load option: run a steady moderate function in the tool and measure terminal voltage — same sag thresholds apply.
Safety: limit resistor test to 10–30 s.
Known-good swap tests — definitive isolation
Use swaps to pinpoint the faulty component:
-
Suspect battery → known-good charger.
-
Known-good battery → suspect charger.
-
Suspect battery → known-good tool.
Rules:
-
Suspect battery fails across known-good charger & tool → battery fault.
-
Known-good battery fails on suspect charger → charger fault.
-
Battery works elsewhere → suspect tool/interface problem.
Advanced checks (experienced technicians only)
Open packs only if you have PPE and know battery safety.
-
Inspect BMS/PCB for burned components, bulging capacitors, cracked traces, or cold solder joints.
-
Measure individual cell/group voltages — cells at same SOC should be within 0.05–0.1 V. Large differences → bad cells or balance failure.
-
Replace cells only with matched Grade-A cells and proper spot-welding. Prefer certified rebuild services for safety and reliability.
DIY cell replacement is high risk and often cheaper/safer to buy a new certified pack for most users.
Replace vs Repair — unambiguous rules
Replace the battery if any of the following apply:
-
Safety hazards: swelling, leaks, burning smell, smoke, melted housing.
-
OCV < ~15–17 V after a genuine charge attempt.
-
Voltage sag > ~2 V under ~2 A load.
-
Estimated capacity ≤ 50–60% of rated Ah.
-
Persistent BMS/charger errors after wake attempts.
Replace the charger if:
-
No DC output or out-of-spec output.
-
Persistent fault LEDs with known-good batteries.
-
Overheating, burning smell, or visible physical damage.
Economic rule: If professional repair cost (parts + labor) ≥ ~70% of replacement cost, replace the pack or charger.
Safe disposal & transport
-
Tape terminals before transport and mark DO NOT USE.
-
Do not place Li-ion packs in household trash. Use authorized battery recyclers or retailer take-back programs.
-
For swollen/leaking packs, transport in a metal or concrete container and notify recycler on arrival.
-
Follow local/UN shipping rules (UN38.3) if shipping expired packs.
FAQ — short, practical answers
Q: Charger LED blinks — is the battery always bad?
A: No. Blink codes can mean charger fault, temperature limits, or BMS communication issues. Cross-test with a known-good battery and charger.
Q: Can I “jump” a BMS-locked pack?
A: Some controlled low-current wakes (low-draw tool or brief charger seating) can revive BMS-locked packs; this is risky and temporary. If unsure, replace or use a pro.
Q: Is replacing individual cells worthwhile?
A: Rarely for commodity packs. Cell replacement requires matched Grade-A cells, proper spot-welding and balancing. Often a new certified pack is safer and more economical.