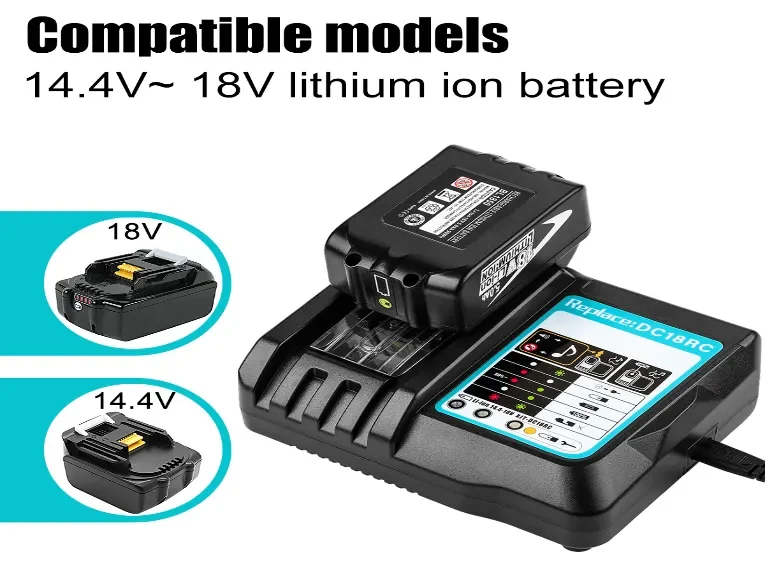
How to Read Makita Charger LED Error Codes — Quick Guide
Makita charger LEDs are the fastest way to know what’s happening. Flash patterns vary slightly by model or aftermarket unit, so treat this as a practical, model-agnostic guide. Always follow safe checks first and consult your charger manual for exact codes.
Safety: if a battery is swollen, smoking, hot (>45–50 °C), or smells burnt — do not test. Isolate on a non-combustible surface and recycle or call a professional.

Quick reference — common LED states
-
No LED / no power → charger not powered, blown fuse, or internal failure.
-
Solid red → charging normally.
-
Solid green → charge complete / standby.
-
Flashing red (slow) → temperature delay (too cold/hot).
-
Flashing red (fast) / repeated blinks → battery fault, BMS lock, detection/ID error.
-
Alternating red/green → conditioning, handshake failure, or unrecognized pack.
-
Rapid/unusual blink patterns → likely charger hardware fault.
Common LED behaviors & actions
No light at all
Causes: no mains, tripped breaker, blown fuse, or charger failure.
Action: test outlet, cord, breaker; replace charger if all else works.
Solid red (steady)
Meaning: charging in progress.
Action: allow charge; monitor if unusually long.
Solid green (steady)
Meaning: fully charged or standby.
Action: remove battery. Immediate green on a discharged pack → run capacity/load check.
Slow flashing red
Meaning: temperature delay.
Action: move pack to room temperature. Do not force-heat.
Fast flashing red / repeated blinks
Meaning: battery fault, BMS lock, or ID/handshake error.
Action: clean terminals, swap with known-good pack, isolate fault source. Quarantine defective battery.
Alternating red/green
Meaning: conditioning, handshake, or pack unrecognized.
Action: wait 10–30 min; swap test and measure voltage if persistent.
Rapid/odd blinks
Meaning: serious charger fault or incompatible device.
Action: unplug and inspect/replace.
Step-by-step diagnostic workflow
-
Safety first: swollen, hot, leaking, smoking, or burnt-smelling packs → isolate outdoors.
-
Check power: verify outlet and cord.
-
Clean contacts: ≥70% isopropyl alcohol, lint-free cloth; reseat battery.
-
Swap test: known-good battery in suspect charger, then suspect battery in known-good charger.
-
Measure OCV: LXT 18V packs ~20.0–21.6 V; CXT 12V packs ~12.4–12.8 V. Very low → deep discharge/cell damage.
-
Temperature retry: let pack stabilize if LED indicated temp issue.
-
Log & quarantine: persistent faults → label “DEFECTIVE — DO NOT USE” and retire for testing/recycling.
LED + battery behavior interpretation
-
LED fault + hot battery → battery issue. Quarantine.
-
LED fault + hot charger, good battery → charger fault. Unplug/replace.
-
No LED, battery works in tool → charger problem.
Replace charger vs retire battery
Replace charger if:
-
No LEDs with known-good packs.
-
Internal faults with multiple batteries.
-
Housing heat-damaged, scorched, or smelling burnt.
Retire battery if:
-
Swollen, leaking, or physically damaged.
-
Persistent low OCV or repeated BMS lockouts.
-
Short runtime after full charge.
Model variability
Makita and aftermarket chargers differ: single bi-color LED, multi-LED, or numeric codes. Always check manuals; treat persistent faults as potentially dangerous.
Quick FAQ
Q: Can I force charge with alternating red/green?
A: No. Usually handshake/temperature error. Swap test or retire if persistent.
Q: Charger green on empty pack — faulty?
A: Possibly. Run tool under load or measure OCV; retire if capacity is low.
Q: Contacts cleaned, error persists — next?
A: Swap test. Fault follows battery → battery problem. Follows charger → replace charger.
Conclusion
LED codes are a fast diagnostic tool but not the full solution. Combine LED reading with swap tests, OCV measurement, and temperature checks. Treat swelling, heat, or odor seriously: remove and recycle defective items.