
How To Safely Replace The Battery In Your Dyson Vacuum Cleaner
This article first teaches you how to judge the aging of the Dyson handheld vacuum cleaner battery through phenomena such as a sudden drop in battery life, flashing red lights or power outages. It then compares the specifications and prices of OEM and cost-effective third-party batteries based on the model (V7/V8/V10/V11), lists the required tools and disassembly and assembly points, and finally provides a quick troubleshooting method for common fault codes and daily maintenance suggestions such as charging from 20-80% and avoiding high temperature storage, to help you safely and economically replace and maintain the battery yourself.
Introduction
Your Dyson vacuum is only as powerful as its battery. Over time, even the best lithium-ion cells start to lose juice. In this guide, we’ll explore real-world signs of a failing battery, walk you through a safe DIY swap, and share industry insights to keep your machine running like new—without blowing your budget.
Spotting a Battery on Its Last Legs
In the battery world, capacity fade is inevitable. But here are the red flags:
- Runtime drops below 30% of the original spec.
- Blinking red/error LEDs during operation or charging.
- Intermittent shutdowns or failure to reach a full charge.
> Industry Insight: Most Dyson batteries maintain ~80% capacity after 300–400 cycles. If yours is hitting 30%, you’re likely past the 3‑year mark of daily use—which aligns with global Li‑ion degradation studies.
Pre‑Replacement Checklist
1. Confirm Your Dyson Model
Every Dyson handheld has its own voltage and connector style. Jot down the model (e.g., V7, V8, V10, V11) from the label near the filter. Then cross-reference it below:
| Dyson Model | Nominal Voltage | Typical Capacity | OEM Part Number |
| V7 | 21.6 V | 2,900 mAh | 967081‑01 |
| V8 | 21.6 V | 3,000 mAh | 969081‑01 |
| V10 | 25.2 V | 3,000 mAh | 969490‑01 |
| V11 | 25.2 V | 3,600 mAh | 967984‑01 |
> Pro Tip: Keep a photo of your vacuum’s label on your phone—no need to wrestle the machine to read tiny print.
2. Evaluate Replacement Options
Li-ion tech has matured. Third-party packs often match or exceed OEM specs—at a fraction of the cost. Compare below:
| Option | Approx. Cost (USD) | Cycle Life | Warranty | Certifications |
| Dyson OEM | 120–150 | ~400 cycles | 1 year | CE, FCC |
| XNJTG | 40-80 | 500-600 cycles | 1 year | CE, FCC, KC |
> Industry Insight: A recent survey of repair shops showed third‑party packs had a <5% failure rate within warranty—on par with OEMs, thanks to better cell tab technology and smarter BMS firmware.
3. Safety First
Lithium-ion cells store energy—so you must treat them with respect:
- Discharge to <5% before opening (prevents sparking).
- Wear ESD-safe gloves & safety glasses.
- Organize screws in a lidded container to avoid fumbles.
> Regulatory Note: IEC 62133 standards govern Li‑ion pack safety. If you design or refurbish batteries, ensure your supplier’s test reports are up to date.
Tools & Materials Checklist
- Battery Pack: OEM or RoHS/CE-certified third-party (e.g., XNJTG)
- Torx Screwdrivers: T9, T10, T15 + Phillips #1
- Pry Tools/Spudger
- ESD‑Safe Gloves & Safety Glasses
- Clean Cloth & Isopropyl Alcohol (for contact cleanup)
Step‑by‑-Step Replacement
1. Power Off & Clean
Unplug, power down, and remove dust/debris from the wand and motorhead.
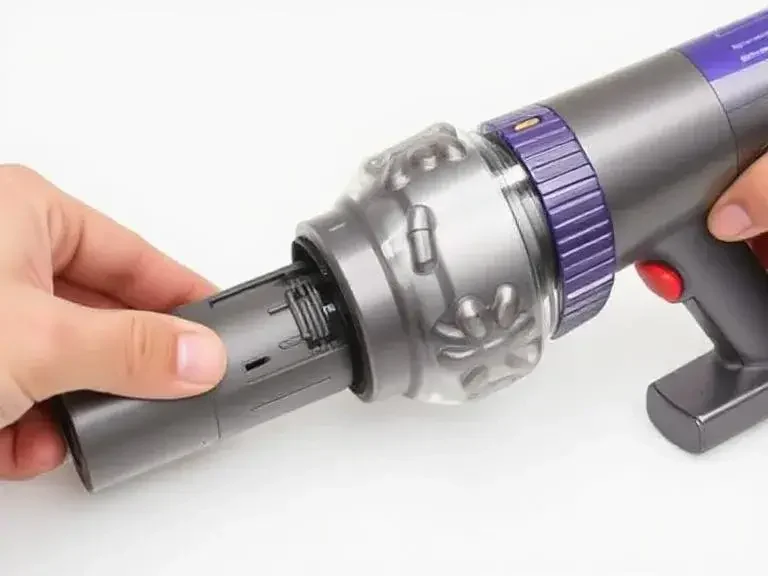
2. Detach Wand & Motorhead
Twist to unlock and set aside.
3. Open Battery Cover
Remove Torx screws and gently pry the housing.
4. Disconnect & Remove
Unplug the old pack—note how the cable routes.
5. Install New Pack
Seat the battery snugly, reconnect the plug, and tidy the cable.
6. Reassemble & Test
Reverse the steps, then charge fully and run a test cycle.
> Quick Check: If it doesn’t power on, re‑examine the connector orientation—Dyson uses a tapered plug that only seats one way.
Aftercare & Troubleshooting
Common Error Codes
| Code | Meaning | Quick Fix |
| 02 | Temp sensor fault | Clean battery contacts + replug |
| 07 | BMS communication error | Reseat harness or full reboot |
Maximizing Battery Lifespan
- Charge Window: 20–80% to reduce stress.
- Avoid High-Heat Storage: Keep under 25°C when not in use.
- Use a Smart Charger: Balances cells and prevents overcharge