Installation & Safety Best Practices for DeWalt Battery Chargers
Correctly selecting, mounting, and maintaining your DeWalt charger not only maximizes its lifespan but also keeps your workshop safe and code‑compliant. Below are expert tips—backed by real‑world jobsite insights—to guide you from pre‑installation prep through routine maintenance.

1. Pre‑Installation Planning
Choose a dedicated, well‑ventilated spot (10–40 °C) with at least 15 cm clearance around all vents, away from dust, moisture and flammables. Verify a correctly grounded outlet delivering the charger’s rated voltage, not shared with heavy‑draw tools. Confirm the charger model matches your DeWalt platform. Gather mounting hardware (screws, anchors, cable clamps) and cleaning supplies. Inspect the charger and battery terminals for damage. Finally, review the user manual and post a brief charging‑station guide nearby to remind operators to seat batteries fully, watch LED signals, and remove packs once charging completes.
Pick the Right Charger for Your Toolset
- DCB105 (12V MAX) for compact drivers and accessories
- DCB115 (18V XR) for standard cordless drills and saws
- DCB118 (FlexVolt) for high‑demand applications
> _Insight:_ Installing the wrong charger forces its BMS to adapt improper voltage profiles, accelerating wear and risking lock‑out errors.
Ideal Location Requirements
| Criterion | Recommendation |
| Environment | Dry, well‑ventilated area—avoid bathrooms or outdoors without shelter |
| Clearance | ≥ 10 cm around vents; ≥ 1 m from flammables |
| Mounting Height | Eye level for easy access and cord routing |
Electrical Checks
- Outlet rating: 120 V or 240 V per charger label
- Ground integrity: < 0.5 Ω resistance (multimeter)
- Breaker load: ≤ 80% capacity when multiple devices share circuit
> _Jobsite tip:_ Label each circuit with connected loads to prevent breaker trips mid‑project.
2. Professional‑Grade Mounting & Wiring
Mount the charger level on a solid wall stud using corrosion‑resistant screws and tamper‑proof anchors so it remains plumb and vibration‑free. Run power wiring in conduit or raceway with THHN copper conductors sized per load—14 AWG for standard 120 V circuits or 12 AWG for higher‑current branches—terminating in a dedicated, GFCI‑protected, grounded receptacle mounted within 1 m of the unit. Secure cables with UL‑listed clamps within 200 mm of junctions, leave a service loop above the charger for future servicing, and label the circuit per NEC requirements. Bond the charger chassis to earth ground and verify correct voltage and polarity before powering up to ensure a fully code‑compliant, professional installation.
1. Wall‑Mount Hardware
- Use DeWalt’s OEM bracket kit or M8 expansion anchors into concrete.
- Secure to studs with heavy‑duty lag bolts (200 kg pull‑out rating).
2. Concealed Cord Routing
- Run the cord through ¾″ conduit or cable clips; avoid pinch points behind doors or equipment.
- Keep extension cords (if any) under 3 m, 12 AWG minimum, UL‑rated.
3. Surge & GFCI Protection
- Install on a GFCI receptacle in garages or basements.
- Inline surge arrestor ≥ 100 kA rating shields against voltage spikes.
> _Compliance note:_ Local electrical codes often require a dedicated branch circuit for hard‑wired installations; consult an electrician.

3. First‑Power‑Up Validation
Before daily use, confirm your installation is rock‑solid:
| Test | Expected Result |
| No‑Load Power‑On | Steady green or red LED (model‑dependent) |
| Battery Insert Sequence | Red → blinking green → steady green |
| Rapid‑Charge Fan | Audible fan spin on DCB118 |
4. Daily Safety & Usage Habits
Each day before use, visually inspect the charger, cord, and batteries for cracks, frays, or deformation. Wipe contact plates and battery rails with a dry, lint‑free cloth to remove dust or oxidation, and clear vents of debris to maintain cooling airflow. Plug the unit into its dedicated, grounded outlet, seat each pack firmly until it clicks, and monitor the LED—remove batteries as soon as a solid green appears. Never leave packs charging unattended for more than twelve hours, keep the area clear of liquids and flammables, and maintain ambient conditions between 10 °C and 40 °C with low humidity. Rotate batteries daily to distribute wear evenly and ensure reliable performance.
- Visual Inspection
Check cord integrity, housing cracks, and loose mounting daily.
- Battery Seating
Listen for the firm “click”—partial engagement can spark and erode contacts.
- Keep Vents Clear
Blow out sawdust or debris from vents each shift to maintain airflow.
> _Field note:_ On dusty jobsites, use a simple filter cover (shop towel or mesh) over vents—replace daily to avoid clogging.
5. Environmental Controls
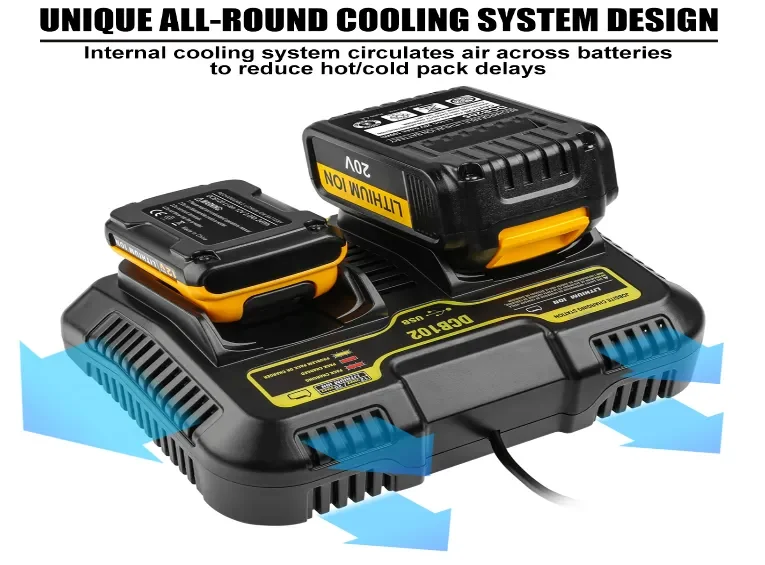
Maintain ambient temperatures between 10°C-40°C (50°F–104°F) and relative humidity under 50 percent to prevent condensation or thermal cut‑outs. Position chargers and batteries in a clean, well‑ventilated space—away from direct sunlight, radiators, air‑conditioning vents, or uninsulated exterior walls. Avoid exposure to chemical vapors, dust, or moisture; consider using silica‑gel packs to stabilize humidity. Mount chargers on noncombustible surfaces with at least 15 cm clearance around all vents. Use a simple thermometer/hygrometer to monitor conditions and adjust with HVAC or dehumidifiers as needed to ensure reliable, safe charging.
- Temperature: Operate between 10 °C–40 °C. Below 5°C, cells risk plating; above 40°C, the charger will throttle or shut down.
- Humidity: 30%–50% RH ideal. In high‑humidity areas, mount under a small canopy or inside a ventilated cabinet.
- Dust & Debris: In extreme environments, install a low‑profile shroud to divert particles from vents.

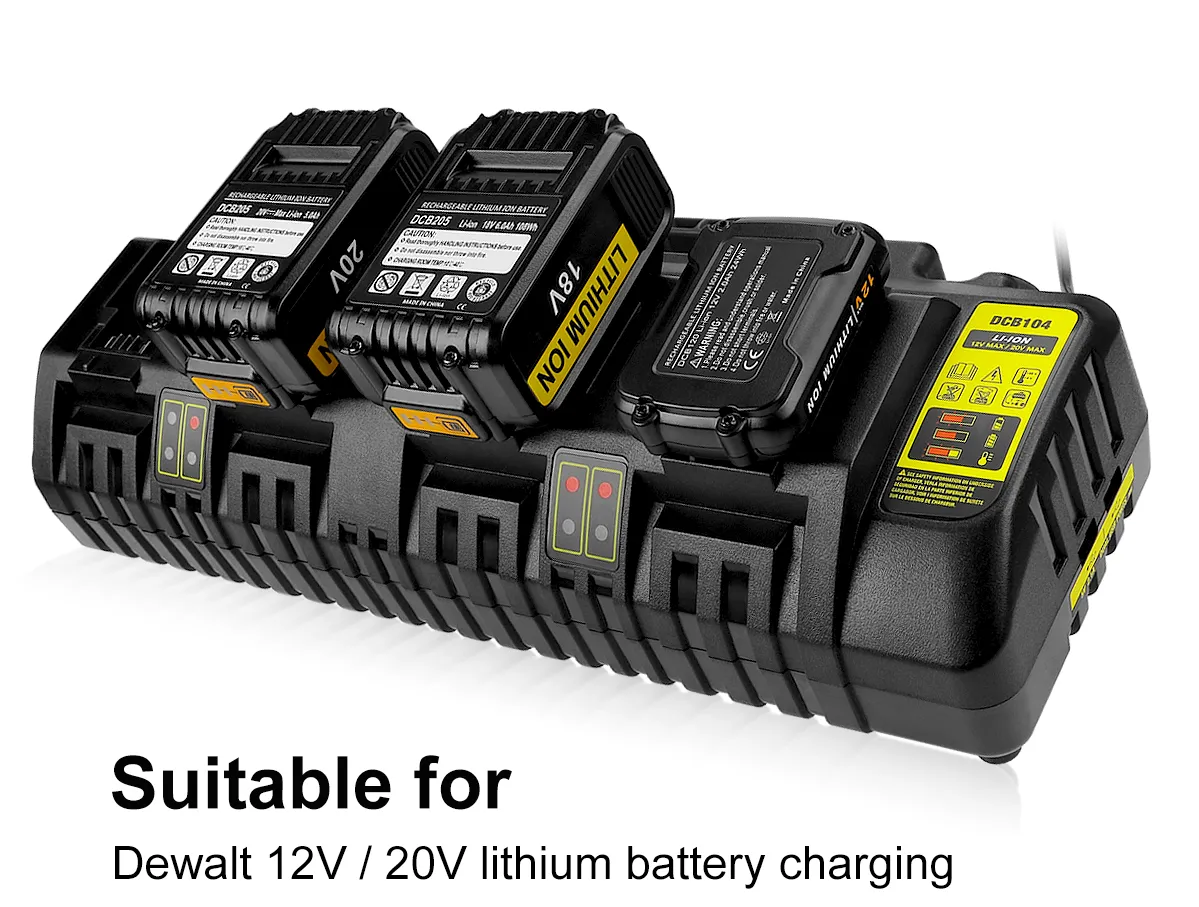
Replacement for De-walt Battery Charger 12V-20V Max Battery Charger DCB104 With 4 Port
6. Troubleshooting Common Installation Issues
Even a correctly sized and wired charger can encounter installation hiccups. If it shows no power, first verify the dedicated outlet with a receptacle tester and confirm proper grounding and voltage. Poor battery seating often results from an uneven or loose mounting—inspect screw torque, shim the charger level, and ensure 15 cm clearance around all vents. Overheating or tripping breakers signals undersized conductors or blocked airflow—check that conduit fill and wire gauge meet NEC specs and clear any debris from vents. Finally, moisture or dust ingress can corrode terminals; reseal mounting penetrations and relocate to a drier, cleaner spot if needed.
1. No Power / LED Off
- Test outlet with a lamp; reset GFCI; swap cord.
2. Shuts Off Mid‑Charge
- Clear vents, confirm ambient temp; tighten mounting screws.
3. Error LEDs on Insert
- Verify charger/battery match; clean contacts with isopropyl alcohol.
7. Scheduled Maintenance
| Interval | Action |
| Weekly | Wipe housing, clear visible dust from vents |
| Monthly | Compressed‑air vent purge; clean terminals; inspect fuse |
| Yearly | Professional service: test output voltage; replace caps/fuse |
A well‑documented maintenance log helps track service history and anticipate replacements.
Frequently Asked Questions
Q: Can I install multiple chargers on one circuit?
Yes, if combined load remains below 80 % of breaker capacity—label circuits to avoid overload.
Q: What mounting hardware is best for drywall?
Use toggle bolts rated ≥ 50 kg; anchor plates behind drywall add stability.
Q: How do I verify proper grounding?
Measure hot‑to‑ground voltage (should match hot‑to‑neutral) and ensure ground resistance ≤ 0.5 Ω.
Following these industry‑tested installation and safety practices will ensure your DeWalt charger operates reliably, maximizes battery health, and meets all code requirements. For OEM mounts, surge protectors, and detailed service kits, visit XNJTG—your partner in professional‑grade charging solutions.