DeWalt Charger Diagnostics & Repair: A Hands‑On Guide
Cut your downtime and hidden costs by mastering a four‑stage troubleshooting system—diagnose failures in under five minutes, tap into a fault‑solution library, protect against environmental stressors, and make smart repair‑vs‑replace decisions.

Why Charger Reliability Matters
Charger reliability is the foundation of a dependable cordless system: a malfunctioning or inconsistent charger can silently undermine battery health, shorten tool runtime, and even create safety hazards long before you notice any obvious failure. When a charger delivers improper voltage or current—due to worn components, faulty temperature sensing, or sporadic contact—it forces cells to work outside their designed parameters, accelerating chemical breakdown, upsetting cell balance, and reducing overall cycle life. In practical terms, that means your freshly charged battery won’t last as long on the job, driving up downtime and costs as you replace packs more frequently. Unreliable chargers can also mask deep‑seated issues: intermittent charging might leave you stranded mid‑project, eroding confidence in both your tools and your workflow. Worse yet, degraded charging circuits can overheat or fail to cut off at full charge, risking thermal runaway or fire. By prioritizing charger reliability—through routine diagnostics, timely repairs or replacement with genuine, certified units—you preserve battery performance, maximize tool uptime, maintain workplace safety, and ultimately protect your investment in both batteries and equipment.
Every minute your charger is down equates to lost productivity—and in professional workshops, that can be \$2–\$5 per minute of idle tool time. According to battery‑service benchmarks, over 60 % of charger faults are preventable with basic preventive maintenance, and extending charger life by just one extra year cuts e‑waste by roughly 15 kg per unit (EPA data).
1. Pinpoint Issues in Under 5 Minutes
To troubleshoot your DeWalt charger in under five minutes, start by confirming the wall outlet is live—plug in a lamp or phone charger to rule out a tripped breaker or faulty receptacle. Next, inspect the charger’s power cord and plug for cuts or kinks; gently flex it from end to end to reveal hidden damage. With no battery inserted, plug the charger in and observe the LED pattern: a solid red light typically means ready to charge, while a blinking red or amber indicates a fault. If you see an error code, consult DeWalt’s manual for its meaning. Remove any battery and clean both the charger’s contact plates and the battery rails with a lint‑free cloth lightly dampened in isopropyl alcohol, then blow out the guide rails with short bursts of compressed air. Finally, insert a fully charged, known‑good DeWalt pack—if the charger still rejects it or the LEDs flash abnormally, the charger’s internal diagnostics or power supply are likely failing and the unit should be replaced. By moving through these checks—outlet, cord, LED codes, contacts, and known‑good battery—you’ll pinpoint the source of the problem quickly and know whether you need a replacement charger or merely a bit of cleaning.
Use a simple multimeter and your eyes—no bench vise required.
1. LED Status
- No lights → Start by swapping the outlet; test with a known‑good multimeter reading 120 ± 10 VAC.
- Red blinking → Indicates voltage out of spec. Typical triggers: utility spikes (> 260 VAC) or brownouts (< 100 VAC).
- Solid green → Charger thinks battery is full; could be poor terminal contact or BMS lock.
2. Voltage Anomalies
| Condition | Quick Fix | Industry Tip |
| < 100 VAC (brownout) | Route through a 300 VA UPS or voltage stabilizer | Brownouts accelerate electrolytic‑capacitor swelling |
| > 260 VAC (spikes) | Install surge‑rated power strip (UL1449) | Surge suppressors with < 1 ns response time minimize stress |
3. Contact & Cooling
- Surface oxidation → Wipe terminals with ≥ 99% isopropyl alcohol and a lint‑free swab; ensure full dry time.
- Fan blockage → Listen for unusual whine; clean with low‑pressure (30 psi) canned air—don’t exceed 2 minutes of cumulative blast to avoid motor overspeed.

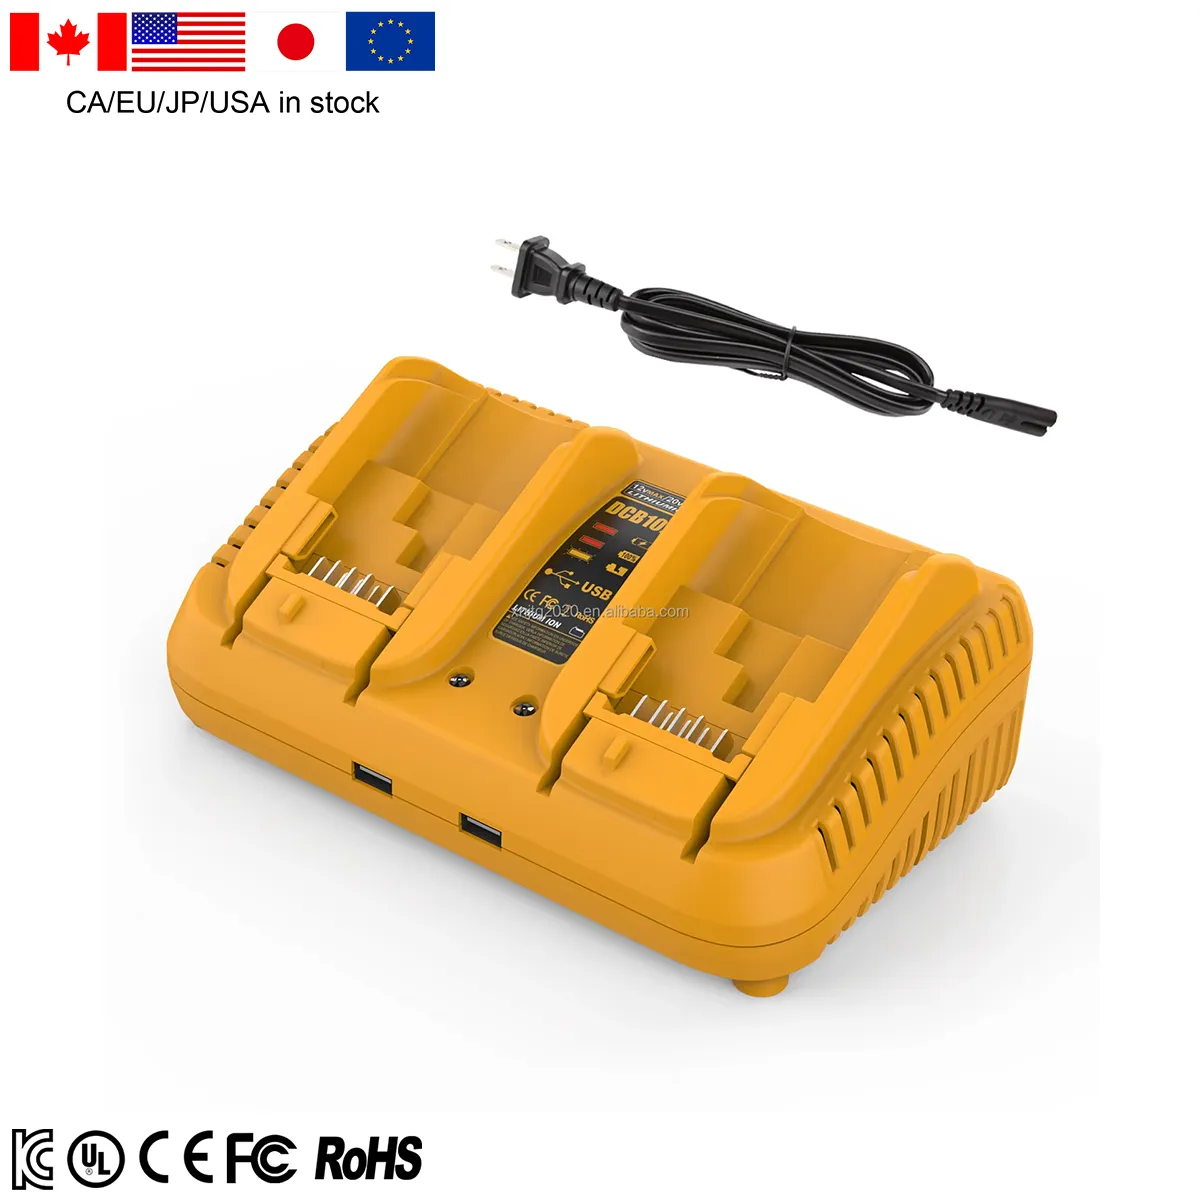
Replacment For Dewalt 12 20v Max Battery Charger Dual Charging Station Dcb102
2. Top Faults & In‑Depth Fixes
Over 70% of field repairs involve just three fault types—here’s how to solve them like a pro:
| Fault Symptom | How to Pinpoint | Step‑by‑Step Repair | Typical Cost (Parts & Labor) |
| No Power | Measure input at plug → zero reading? | 1. Open charger: replace 3 A slow‑blow fuse (UL‑rated).<br>2. Inspect IEC cable; swap if frayed. | \$5 – \$12 |
| LED On, No Charge | Check battery terminal voltage (< 5 V?) | 1. Clean and re‑seat contacts.<br>2. Verify BMS wake‑up protocol: hold trigger for 3 s. | \<\$1 |
| Red Blinking (Err 2) | Confirm line voltage with multimeter | 1. Fit 275 VAC MOV suppressor across live/neutral.<br>2. Replace power‑entry module if still erratic. | \$30 – \$50 |
| Overheat Shutdown | Infrared gun: > 60 °C on PCB? | 1. Remove cover: clear dust from 40 × 40 mm fan.<br>2. Swap to 12 V brushless‑rated fan. | \$8 – \$15 |
| FLEXVOLT Amber Hold | Stopwatch test: maintenance cycle > 5 hr? | 1. Run full maintenance charge (4 hr).<br>2. If persists, swap in fresh DeWalt FLEXVOLT battery. | \$0 – \$80 |
> Pro Tip: Keep a small spares kit—fuses, MOVs, common fans—to turn a workshop visit into a 10‑minute fix.
3. Guarding Against Environmental Stress
Chargers are rated for indoor, dry conditions (IP20). In harsher settings, follow these guidelines:
| Hazard | Preventive Routine | Rapid Recovery Technique |
| Dust | Weekly canned‑air blast; monthly PCB blow | Ultrasonic bath (40 kHz) for boards; bake at 50 °C for 1 hr. |
| Moisture | UV‑cure conformal coat on PCBA | Disassemble, oven‑dry at 60 °C for 2 hr; reapply grease |
| Vibration | Mount charger on anti‑vibe pads (Sil‑Gel) | Touch up solder on loose joints; replace spring clips |
Industry Insight: Workshops in mining or PCB‑assembly plants see 3× more charger failures—proactive conformal coating can cut that rate in half.
4. Repair vs. Replace: A Data‑Driven Decision
Beyond simple cost, factor in remaining service life, safety compliance, and downtime impact.
| Severity Level | Symptom | DIY Repair Cost | Pro Repair + Calibration | New Unit (DeWalt DCB107) | Estimated Remaining Life (yrs) |
| Minor | Oxidized terminals / Fuse | \$5 | \$25 | \$45 | 2-3 |
| Moderate | Bulging caps / Blown MOV | \$20 | \$55 | \$45 | 1-2 |
| Severe | Controller IC / BMS failure | N/A | \$80+ | \$45 | 3-5 |
> Rule of Thumb: If total repair cost (including lost production time) exceeds 65 % of new‑unit outlay—just buy fresh and recycle the old charger responsibly.
5. Pro‑Level Maintenance Best Practices
For true pro‑level upkeep, treat your charging system and batteries as critical equipment rather than disposable accessories. Begin by logging every charge cycle and battery ID in a simple spreadsheet or app—record charge start and end times, ambient temperature, and pack resting voltage—to spot subtle declines in capacity or rising internal resistance before they impact performance. Quarterly, use an impedance tester or high‑precision LCR meter to measure each cell’s internal resistance; cells that drift beyond the pack average by more than 10 percent should be retired or re‑balanced. Invest in a thermal camera or infrared thermometer to scan chargers and batteries under load—hot spots reveal clogged vents, failing cooling fans, or stressed cells long before a failure occurs. Once a year, perform a full calibration cycle: discharge each pack to its cut‑off under a controlled load, then recharge at the manufacturer’s specified rate to “teach” the BMS precise end‑of‑charge thresholds. Keep firmware and diagnostic software—where available—up to date, and subscribe to manufacturer bulletins so you know when recalls or service advisories arrive. Finally, partner with an authorized service center for an annual inspection: they can run board‑level charger tests, replace aging capacitors or thermistors, and certify that your system meets the latest safety and performance standards. By combining meticulous record‑keeping, precision testing, thermal imaging, and professional tune‑ups, you’ll maximize uptime, extend cycle life beyond standard warranties, and maintain your cordless fleet at peak reliability.
- Quarterly Calibration: Verify output voltage and current curves against DeWalt’s spec sheet; log results in maintenance software.
- Firmware Updates: Some smart chargers accept USB updates—check DeWalt’s service portal bi‑annually.
- Battery Rotation: Implement FIFO (first‑in, first‑out) to avoid deep‑discharge stress on older cells.
- E‑Waste Compliance: Partner with certified e‑recyclers to meet EPA and EU WEEE regulations.

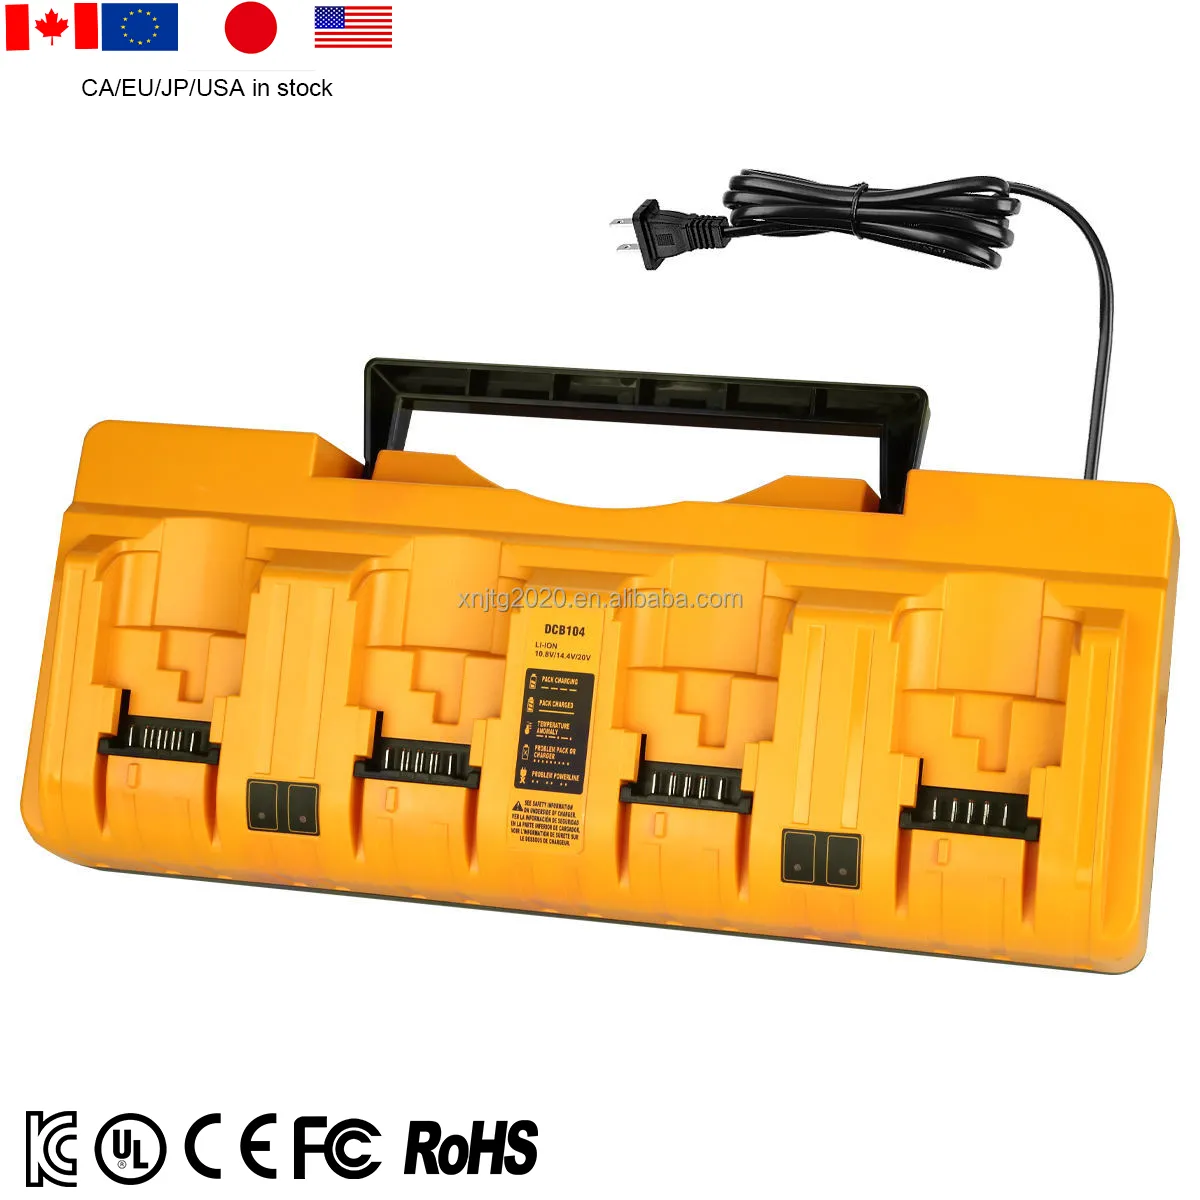
Replacement for De-walt Battery Charger 12V-20V Max Battery Charger DCB104 With 4 Port
6. Rapid‑Fire FAQs
Q: DCB115 blinks red twice—what now?
A: That’s a low‑voltage “wake‑up” error. Insert a fully charged 20 V MAX battery for 5 minutes, then retry with a discharged pack.
Q: My FLEXVOLT charger stays amber beyond 6 hrs—safe?
A: No—maintenance mode should finish in 3–4 hrs. If it exceeds 6 hrs repeatedly, battery cells may be degrading; plan to replace.
Q: Can I use my charger outdoors?
A: Only if you’re under a cover in a dry area and ambient temperature stays between 10 and 40°C.or outdoor sites, use IP‑rated enclosures.
Next Steps: Keep Your Workshop Running
Armed with this four‑stage system, you can slash charger‑related downtime and extend equipment life. Share your tips, download our free repair checklist, or connect with our certified technicians for on‑site calibration—and keep every tool at peak performance.