
Ryobi Battery Not Charging — Step-By-Step Diagnostic Guide
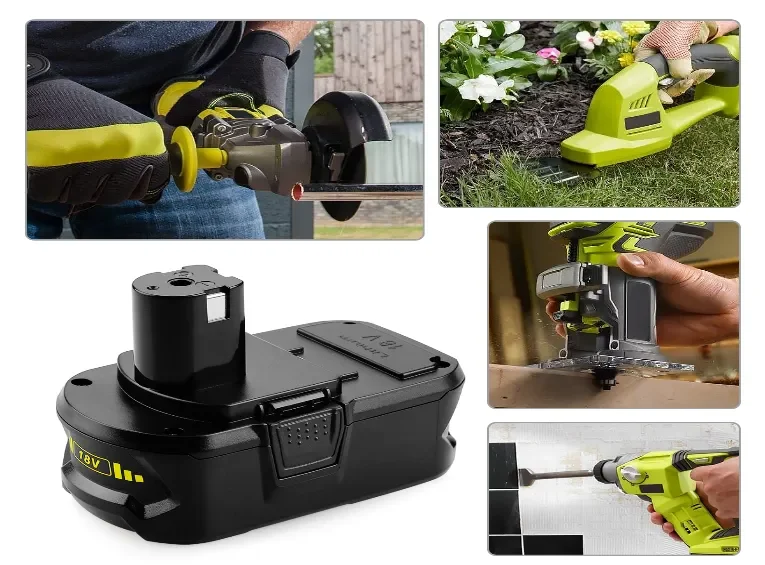
This guide helps DIYers, contractors, rental fleets, and aftermarket buyers quickly identify why a Ryobi ONE+ 18 V battery won’t charge. It covers safe diagnostics, isolation of battery vs. charger issues, and structured repair or replacement decisions, ensuring reduced downtime and prolonged battery life.
Safety First (Must-Read)
Battery safety is critical. Stop immediately if you notice swelling, leaking, overheating, smoke, or unusual odors. Always place packs on a non-conductive, non-combustible surface, and wear PPE such as insulated gloves and eye protection. Never disassemble a lithium-ion pack, as internal cells are volatile and can ignite if mishandled. Keeping a Class ABC/BC fire extinguisher nearby is recommended when performing diagnostics. These precautions prevent fire hazards, chemical exposure, and costly tool damage.
Required Tools
Before starting diagnostics, ensure you have the right tools ready. Essential items include a multimeter to measure voltage, isopropyl alcohol and brushes for cleaning contacts, a known-good battery and charger for swap testing, and optionally an IR thermometer or small load tester. Having these tools prepared allows you to quickly and safely diagnose pack health while minimizing trial-and-error testing.
60-Second Triage
Begin with a fast, high-level check. Inspect the battery visually for cracks, swelling, corrosion, or discoloration. Confirm that the charger is receiving power and that LEDs show expected patterns. Swap the suspect battery into a different known-good charger, and test a different battery in the original charger. This simple step isolates whether the issue is with the battery or the charger and often identifies obvious problems in under a minute.
Clean & Reseat Contacts
Dirty or oxidized terminals are a common reason for charging failures. Carefully clean both the battery and tool/charger contacts with isopropyl alcohol and a soft brush. Reseat the battery to ensure firm and stable contact. Even a small layer of grime or minor corrosion can increase resistance, prevent charging, or cause intermittent tool operation. Regular maintenance of contacts prevents repeat issues.
Measure Open-Circuit Voltage (OCV)
Measuring OCV gives a quick snapshot of battery health:
-
Full charge: 18–20 V
-
Partial charge: 16–18 V
-
Red flag: <16 V
Extremely low voltages (<10–12 V) indicate deep discharge, potential BMS lock, or internal cell failure. Comparing OCV with expected levels helps distinguish between simple depletion and a pack that may need professional repair or replacement.
BMS Wake & Recovery
Some Ryobi packs enter a protective sleep state to prevent damage from over-discharge or thermal events. Use the OEM charger’s trickle mode, the tool wake function, or a different verified charger to safely “wake” the BMS. Pre-warming cold packs to near room temperature can also help. Stop immediately if the battery becomes hot, smells, or leaks. Following these steps allows recovery of tripped batteries safely without dismantling them.

9.6V-18V Ni-Cd Ni-MH Li-ion Power tool Battery Charger P117 Replacement for Ryobi One Plus tool Battery Charger
Load / Sag Test
A practical load test evaluates the battery’s ability to sustain voltage under real usage:
-
Healthy packs show ≤1 V voltage drop under typical tool load.
-
Packs with >2 V sag, tool cutouts, or excessive heating are considered suspect.
This method assesses internal resistance and usable capacity without requiring cell-level disassembly, providing a real-world picture of pack performance during heavy tool use.
Charger Diagnostics
A charger may fail independently of the battery. Test the charger using a known-good battery to confirm proper operation. Inspect cords, fuses, and connections. Monitor LED behavior for fault codes or irregular patterns. Differentiating charger issues from battery problems is essential to avoid unnecessary replacements and to maintain fleet uptime efficiently.
Advanced Diagnostics
For trained personnel, deeper diagnostics include cell-level OCV measurements, capacity or discharge testing, and potential BMS replacement. These procedures require specialized equipment and expertise, and they may not always be cost-effective. Advanced diagnostics should only be attempted by qualified technicians to prevent safety hazards or permanent damage.
When to Repair vs. Replace
Replace the battery if it shows unsafe voltage (<16 V), repeated BMS lockouts, extreme voltage sag, or physical damage. Repair may be justified if the mechanical structure is sound and the cost of repair is less than half the price of a new pack. Following these criteria ensures safety and cost-effectiveness while extending battery life for usable units.
Preventive Tips
Proper storage and handling extend battery life and reduce failures: store batteries at 30–50% SOC, clean terminals regularly, avoid extreme temperatures, rotate packs in high-use fleets, and always use OEM or validated chargers. Implementing these preventive measures reduces unexpected downtime and maximizes the total lifespan of your battery inventory.
Quick Decision Flow
-
Perform safety check
-
Conduct 60-second visual triage
-
Clean and reseat contacts
-
Measure OCV
-
Attempt BMS wake/recovery
-
Perform load/sag test
-
Decide repair vs. replacement
-
Document findings for fleet records
This workflow is field-ready, reproducible, and ensures consistency across technicians or crews.
FAQ
Q: Can I recover a deeply discharged pack?
A: Sometimes, using OEM wake functions or pre-warming can recover the BMS, but never force charge a pack. Stop if heat or odor develops.
Q: Can I use an aftermarket charger?
A: Only if verified for Ryobi ONE+ packs. Unverified chargers may damage cells or bypass protective circuits.
Q: How do I detect deep-discharge or failing cells?
A: Check OCV, monitor sag under load, and compare performance against a known-good “golden” pack.
Conclusion
A structured, step-by-step approach allows you to safely diagnose whether a Ryobi battery or charger is at fault. Following this workflow reduces downtime, prevents unsafe handling, and prolongs pack lifespan. Documenting results and adopting preventive maintenance ensures reliable performance across DIY, professional, and fleet environments.