
Temperature Sensing Placement in Makita Chargers — Why It Matters
Accurate temperature sensing determines whether a charger can safely fast-charge or must derate/stop. Sensor location, thermal coupling and control logic directly affect detection latency, false trips and charger/pack lifetime. This guide gives practical placement rules, sensor choices, mounting best practices, control strategies, reproducible tests, common failures and immediate engineering actions — concise, technical and shop-floor ready.
Safety first
- Work on unplugged chargers for physical mounting. When powering for tests use an isolation transformer, differential probes and RCD/GFCI.
- Thermistor wiring near mains must be insulated and routed to avoid shorts.
- If a charger smells burned or smokes during tests → unplug and QUARANTINE immediately.
- Never bypass thermal protections to force behavior.
What placement changes (practical effects)
- Latency: distance and thermal interface set how fast a sensor sees a rising hotspot.
- Accuracy: poor coupling underestimates true part temperature.
- Control decisions: misplaced sensors can delay derates or cause false cutouts.
- Safety margin: conservative placement reduces risk but may lengthen charge time.
Recommended sensing locations (minimum set)
1. Pack-contact / cradle sensor (primary pack proxy) — mounted so it makes firm contact with the pack housing when docked; detects pack-side heating and verifies pack thermistor.
2. MOSFET / heatsink sensor (charger internal hotspot) — attached to the MOSFET tab or heatsink base to track switcher junction proxy.
3. Transformer / inductor surface sensor (winding hotspot) — placed on bobbin/core or adjacent bobbin surface to catch winding heating.
4. Ambient/inlet sensor (optional) — measures inlet air; used for adaptive derate when ambient is high or airflow is blocked.
5. Connector/terminal local sensor (if connectors known to heat) — small sensor near cradle contact face to detect contact heating.
Rule of thumb: use at least two sensors (pack-contact + MOSFET/heatsink) and apply `max(pack_temp, charger_temp)` logic for safety.
Sensor types & trade-offs
- NTC thermistors: compact, cheap, fast when well-coupled — need ADC + LUT calibration.
- Digital temp ICs (I²C/SPI): easy interface and calibration; larger footprint but stable.
- RTDs / thermocouples: high accuracy / speed for lab or qualification; costlier and heavier duty.
Practical choice: NTC for cradle and MOSFET; digital ICs where ease of calibration and diagnostics are advantageous.
Mounting & thermal coupling best practices
- Direct contact: use thermal adhesive/tape or mechanical clamp; avoid air gaps.
- Avoid varnished or thick plastic layers between sensor and heat source.
- Minimize lead length for analog sensors; route away from switching nodes to reduce noise.
- Provide strain relief on wires so vibration doesn’t break the bond.
- Protect the sensor from mechanical abrasion and flux/solvent during assembly.
Control logic & firmware practices
- Multi-sensor logic: use max(pack_temp, charger_temp) for trip decisions; use pack thermistor as primary for pack-related derate but fallback to cradle sensor if missing.
- Hysteresis & debounce: implement time-based hysteresis (e.g., require threshold exceedance for N seconds) to avoid nuisance trips from transient spikes.
- Filtering: apply moderate digital filtering (exponential smoothing) but preserve worst-case response time.
- Priority rules: MOSFET/transformer sensors should force immediate derate; ambient sensor triggers slower derate.
- Fault handling: detect open/short sensors and default to conservative derate or refuse charge.

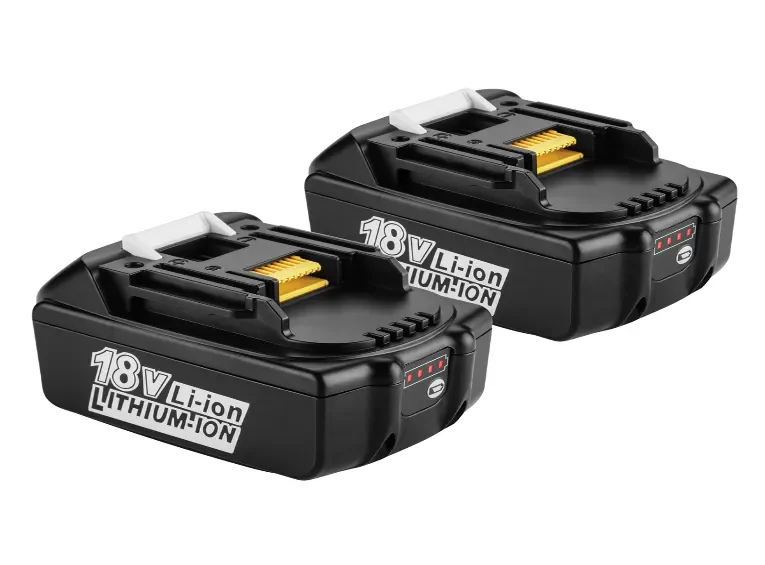
For Makita 18V BL1860 BL1850 BL1840 Battery
Calibration & validation (reproducible procedure)
1. Factory calibration: measure each sensor vs a calibrated probe at 0 °C, 25 °C, 50 °C; store LUT or offset.
2. Sensor contact check: cold-start reading vs ambient must be within ±2–3 °C.
3. Thermal step test: apply controlled heat at each sensor location and verify response time and plateau value vs reference IR camera. Log time-constant.
4. Acceptance threshold: confirm charger derates/shuts at intended temps and recovers only after cooldown with hysteresis. Record logs.
Shop-floor / bench tests you can run now
- IR cross-check: run a short charge and compare IR hotspot temp vs sensor reading; difference should be ≤ ~3 °C for critical sensors.
- Time-constant test: heat the MOSFET/heatsink with controlled heater and measure time-to-threshold; compare to golden unit.
- Open/short sensor test: measure sensor resistance (NTC) at power-off; confirm continuity and expected cold value.
- Fault injection: simulate sensor open (in lab) and verify charger falls back to safe derate/refuse mode.
Common failure modes & fixes
- Delayed trips: loose adhesive or air gap — fix by re-mounting with thermal adhesive.
- False trips / oscillation: insufficient hysteresis or noisy ADC — add software debounce and analog filtering.
- Sensor drift over time: aging adhesive or reference voltage drift — schedule periodic recalibration.
- Mechanical breakage: wire fatigue — add strain relief and protect routing.
Maintenance & serviceability
- Verify sensor mounting after mechanical service and record sensor continuity in post-repair checklist.
- Keep spare calibrated sensors and mounting jigs for consistent rework.
- Include sensor-validation step in FAI or post-repair test (IR cross-check + hysteresis verification).
Summary — one-line takeaway + 3 immediate actions
Correct sensor placement with solid thermal coupling and conservative multi-sensor logic is essential for safe, reliable charging; poor placement delays protection or causes false trips.
Immediate actions:
1. Verify a firm cradle-pack contact sensor exists and is thermally coupled (add thermal tape/adhesive if not).
2. Ensure a sensor is mounted on the MOSFET/heatsink and on the transformer area; implement `max()` logic in firmware.
3. Run an IR vs sensor cross-check on one pilot charger under a 30–60 s charge load and confirm sensor reads hotspot within ±3 °C.
FAQ
Q — Should the charger rely only on the pack thermistor?
A — No. Pack thermistors are primary for pack temp but chargers must cross-check with cradle and internal sensors to catch faulty or missing pack thermistors.
Q — How fast must a sensor respond?
A — Fast enough to catch damaging transients: aim for time constants shorter than the thermal time to damage (seconds–tens of seconds for local hotspots). Validate in qualification.
Q — Is digital sensor better than NTC?
A — Digital sensors simplify calibration and diagnostics; NTCs are compact and cost-effective. Choose by required accuracy, space and ADC resources.
Q — What to do if a sensor fails in the field?
A — Charger should fall back to a conservative derate or refuse-to-charge state. Replace sensor and run the IR/response validation before returning to service.
Q — Can I add a sensor to an existing charger in the field?
A — Sometimes — improve thermal coupling (adhesive/tape) to an existing sensor or add an external cradle sensor; major PCB redesigns require lab validation first.