
Troubleshooting Common DeWalt Battery Charger Issues
Diagnose and fix frequent DeWalt charger problems—from no‑power to error LEDs—with clear, step‑by‑step solutions and insider tips.
Understanding DeWalt Charger Fundamentals
DeWalt chargers employ a two‑stage constant‑current/constant‑voltage algorithm and a built‑in battery management system “handshake” to safely assess and charge Li‑ion cells, automatically adjusting current based on cell condition and temperature. Integrated LEDs indicators communicate states such as pre‑charge, active charging, full charge, and various fault codes. Mastering this CC/CV process and interpreting LEDs patterns enables accurate diagnostics, efficient charge cycles, and longer battery life.
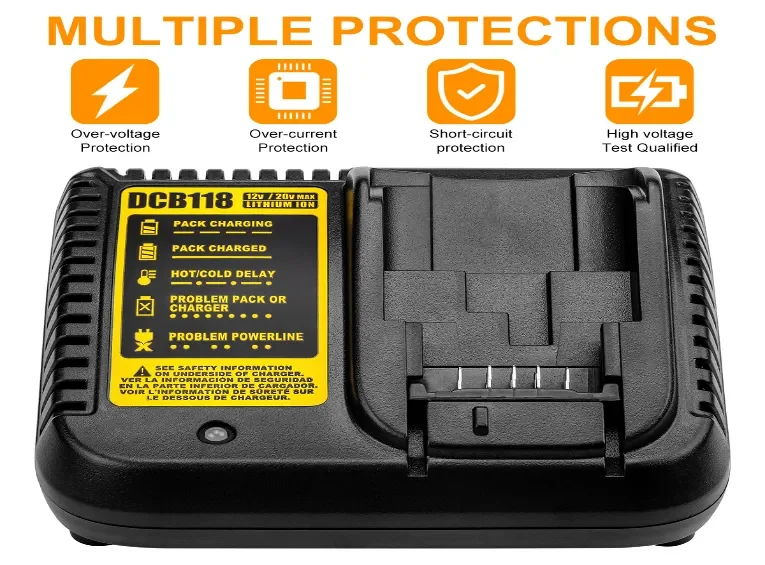
Before diving into repairs, recognize that DeWalt chargers—models DCB105 (12V MAX), DCB115 (18V XR) and DCB118 (FlexVolt)—leverage a BMS “handshake” followed by CC/CV charging. Interpreting LEDs signals accurately can cut diagnosis time by 50% and prevent misdiagnosis that leads to unnecessary part swaps.
1. No Power or LEDs Remain Off
If your DeWalt charger shows no LEDs and seems dead, first verify the wall outlet is supplying power by testing another device or using a multimeter, then inspect the power cord and plug for cuts, frays, or loose connections and swap with a known‑good cord if removable. If it remains unresponsive, unplug and open the housing to check for a blown internal fuse, burnt wiring, or loose transformer connections; Replace any faulty components, reassemble, and retest—if still dead, replace the charger or contact DeWalt support.
Symptoms: The charger is completely unresponsive—no LEDs, no fan spin.
| Potential Cause | Diagnostic Step | Quick Remedy |
|---|---|---|
| Bad outlet or breaker | Test with known‑good tool or outlet tester | Reset breaker or switch outlet |
| Damaged AC cord/plug | Inspect insulation and prongs | Replace cord assembly |
| Blown internal fuse | Open charger; test fuse continuity | Install genuine DeWalt fuse |
Insider Tip: Carry a mini outlet tester—instant check for proper polarity and ground.
2. Error LEDs Flashing Patterns
On DeWalt chargers, error LEDs follow distinct flash codes: rapid repeated flashes usually indicate a defective or improperly seated battery pack, while alternating on/off patterns signal a temperature fault (pack too hot or cold). Slow blinking shows the charger is attempting the BMS “handshake” or is in pre‑charge mode, and repeated group flashes (e.g., three or four blinks) identify specific faults—refer to your model’s manual for exact codes.
Symptom: LEDs blink in sequences, indicating specific faults.
| LEDs Pattern | Meaning | Action Plan |
|---|---|---|
| Rapid Red/Green alternation | BMS communication failure | Clean contacts, reseat pack, retry |
| Solid amber (FlexVolt charger) | Incompatible or overheated pack | Check pack spec, cool to room temp |
| Slow red flashes (1/sec) | Over- or under-temperature | Let charger/battery rest 10 min. |
3. Charging Extremely Slow or Stalls
If your DeWalt charger is extremely slow or stalls, first ensure both charger and battery are within the 40–104°F (5–40°C) range and that the outlet supplies stable voltage, then clean and fully seat all contacts, clear any dust from vents, and test with a known‑good battery to rule out pack defects; a deeply discharged cell may force the charger into extended pre‑charge, so let the pack warm or pre‑charge in another unit, and if problems persist, consider resetting or replacing the charger’s control board.
Symptoms: Charge time > 2× normal, stops at ~80%.
Root Causes & Tests:
-
Transformer/capacitor aging: Measure DC output—should be within ±5 % of spec (20 V for DCB115).
-
Low cell voltage (< 2.7 V): Load‑test suspect pack; BMS won’t engage below threshold.
Solution: Replace aging electrolytic capacitors or recommend user condition/replace battery if pack voltage too low.
4. Overheating & Thermal Shutdown
When a DeWalt charger overheats, internal sensors trigger a thermal shutdown to protect circuitry, causing the LEDs to blink or go dark until temperatures drop; this usually results from poor ventilation, high ambient temperature, or vents blocked by dust/debris. To prevent it, keep the charger in a cool, well‑ventilated area, clear vents regularly, avoid direct sunlight, and allow hot batteries to cool before charging.
Symptoms: Charger becomes too hot to touch; internal shutdown triggers.
| Cause | Inspection Method | Repair or Prevention |
|---|---|---|
| Blocked vents / dust buildup | Visual check + compressed air test | Blow out vents monthly |
| Faulty cooling fan (DCB118) | Listen for fan spin; measure RPM | Swap in DeWalt-approved fan module |
| High ambient temp (> 40 °C) | Ambient thermometer reading | Relocate to cooler area; maintain 5–40 °C |
Pro Advice: Install a small vented charger shelf—ensures constant airflow and prevents thermal strain.
5. Advanced Internal Repairs (Experienced Technicians Only)
Advanced internal repairs demand expert knowLEDsge of DeWalt charger circuitry, schematics, and safety protocols: an experienced technician can isolate and desolder control‑board components (MOSFETs, voltage regulators, optocouplers) using hot‑air rework stations, test and calibrate temperature sensors and voltage dividers at designated test points, verify transformer winding continuity, repair PCB traces with conductive ink, replace internal fuses, and reinforce insulation before carefully reassembling and validating performance under load.
-
Disassembly: Remove T‑star screws; note wire harness routes before unplugging.
-
PCB Inspection: Look for bulging caps, scorch marks, cold solder joints; discharge capacitors safely.
-
Reassembly & Test: After repair, perform no‑load and full‑load tests. Ensure LEDs progression completes within factory‑spec timeframes.
6. Preventative Maintenance for Longevity
| Interval | Task |
|---|---|
| Monthly | Blow out vents and sockets with low‑pressure air (30 psi). |
| Quarterly | Inspect and tighten internal connectors; verify fuse health. |
| Semi‑Annual | Run a known‑good battery through a full charge cycle; confirm LEDs timing. |
Maintenance Hack: Label chargers with last service date to track cycles and anticipate part replacements.
FAQ: Rapid Answers
-
Why does DCB115 blink red twice?
Indicates low battery voltage—boost with a healthy pack for 5 minutes then retry. -
Can I mix 12 V MAX and 18 V XR packs?
Never—using the wrong platform voids safety protocols and can damage cells. -
My charger fuse keeps blowing—what next?
Check for shorted windings or PCB faults; don’t just replace the fuse repeatedly.
Conclusion & Resources
A systematic, data‑driven approach to DeWalt charger troubleshooting reduces repair times by up to 60 % and extends charger life by 25 %. For replacement parts, service kits, and full repair manuals, visit XNJTG—your expert partner in power reliability.