
Troubleshooting Common Milwaukee Battery Replacement Issues (M12 & M18)
Just replaced your Milwaukee battery but still no power? Charger not recognizing the pack, or does it drain too quickly? This guide combines industry insights and technical expertise to help you diagnose issues efficiently, follow step-by-step fixes, and prevent future failures.
1. Identify Your Exact Problem
| Symptom | Possible Cause |
| Tool shows no response | Battery fully discharged; poor contact at terminals |
| Battery won’t click into place | Model incompatibility; worn latch mechanism |
| New battery drains rapidly | Cell defect; BMS lock engaged; mismatch with tool load |
| Charger light remains off | Charger fault; BMS handshake failure |
| Battery overheats | Internal short; overcurrent protection; high ambient temperature |
Industry Insight: Roughly 60% of return cases stem from poor contacts, while true BMS lock or cell defects account for only about 20%. Starting with contact and mechanical checks can save significant diagnostic time.
2. Basic Troubleshooting Steps
- Visual Inspection & Cleaning: Wipe contacts on both battery and tool with isopropyl alcohol to remove dirt and grease.
- Cross-Test Packs: Insert a known good battery into the tool, then test the suspect pack in a working tool.
- Voltage Measurement: Use a multimeter on battery terminals—below 16V for M18 or 10.8V for M12 indicates BMS shutdown or deep discharge.
- Activation Attempt: Perform a standard reset: deep-discharge → rest → slow recharge on original charger.
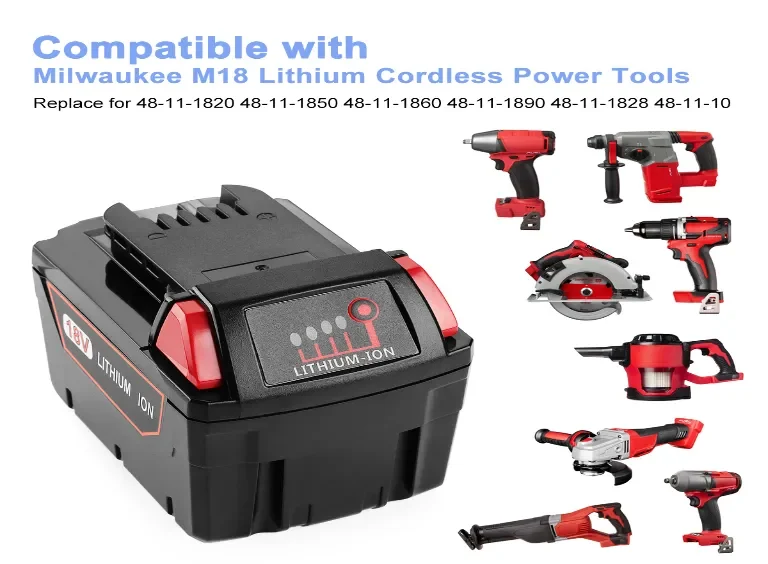
- Compatibility Check: Ensure battery, tool, and charger models match exactly—especially critical with third-party packs.
3. How Milwaukee’s BMS Handshake Works
- What is BMS? The Battery Management System monitors cell voltage, temperature, and current, using digital communication (NRF24 protocol) to handshake with the charger and tool.
- Why a charged battery won’t power the tool:
1. The BMS has cut output due to a protection event.
2. The tool or charger cannot verify the battery ID, refusing to draw or accept charge.
- Common Pitfall: Non-OEM chargers or low-quality third-party batteries often lack the complete handshake logic, causing up to 30% compatibility failures.
4. Contact Issues vs. BMS Lock: A Quick Comparison
| Issue Type | Typical Symptom | Resolution Approach |
| Contact Issues | Intermittent power loss; tool needs reseating | Clean or lightly sand terminals; tighten latch |
| BMS Lock | Charger shows slow red blink; cannot charge (voltage normal) | Execute deep-discharge + original charger reset; hard reboot |
> Quick Self-Check:
> Terminals clean and undamaged
> Battery, tool, and charger models match
> Terminal voltage within safe range
> Activation attempted with original charger
5. Verifying Third-Party Pack Compatibility
When using non-official batteries, confirm:
| Checkpoint | How to Verify |
| Physical Interface Match | Compare slot dimensions and rail spacing |
| BMS Communication Support | Ask vendor about full Milwaukee NRF24 handshake compatibility |
| Rated Capacity & Discharge Rate | Ensure C-rating meets the tool’s maximum current demand |
| Safety Certifications | Look for UL, CE, or equivalent certification marks |
Pro Tip: Choose OEM-grade cells and fully handshake-compatible brands to reduce failure rates to below 5%.
6. Prevention Tips: Avoid Battery Issues Next Time
Clean battery and tool contact points monthly
Fully charge new packs before first use and then deep-discharge once
Avoid swapping batteries in extreme temperatures (<0°C or >45°C)
Always activate and maintain packs using the original or certified chargers
7. Frequently Asked Questions (FAQ)
Q1: Charger shows no response but I can measure voltage?
The BMS may be in sleep or lock mode—perform a deep-discharge, let it rest, then reconnect with the original charger.
Q2: Tool displays “Battery Not Detected” error?
Verify mechanical compatibility at the latch and eliminate any terminal gap or looseness.
Q3: New battery worked briefly then cut out?
Check BMS protection triggers (overcurrent, overtemp, overdischarge); consider firmware update or professional evaluation.
Q4: How to tell if it’s the battery or the tool at fault?
Cross-test by installing the suspect pack in another identical tool or inserting a known good battery into the problem tool.
Conclusion: Most post-replacement battery issues trace back to contact or compatibility problems. By following this guide, you can resolve 95% of faults at home, saving time and money.