Resources
Blog
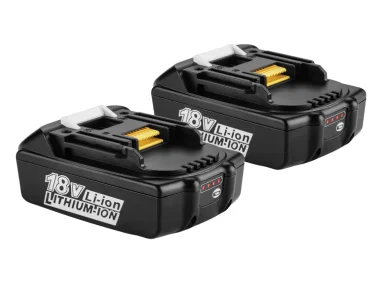
Makita BL Serie — Internal Resistance(DCIR) Trend and Fleet Management
Makita BL-series battery packs show DC internal resistance (DCIR) growth over time and cycles, influenced by temperature, SOC, and usage patterns. Monitoring DCIR predicts aging, prevents tool cutouts, and enforces vendor compliance. Use standardized field, bench, and lab protocols, maintain golden-unit baselines, and set clear retirement thresholds for safe fleet operation.
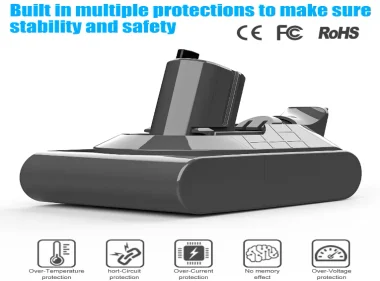
Dyson V6–V12 Pack Designs — Cell Form Factor and BMS Differences
Dyson V6–V12 packs vary in cell form factor (18650, 21700, pouch) and BMS design. Each combination impacts runtime, thermal response, charge/boost behavior, and serviceability. Proper field-to-lab test protocols, IR/OCV logging, teardown inspection, and golden-unit acceptance are essential for safe aftermarket evaluation. Procurement must enforce traceability, thermistor/BMS mapping, and standardized RMA/golden-pack checks to minimize field failures.
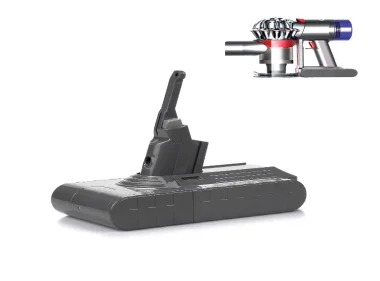
Dyson Battery Thermal Events — Post-mortem Findings and Mitigations
Thermal events rarely originate from a single fault. Most Dyson-style pack incidents involve a latent cell defect interacting with BMS or thermistor irregularities and then being amplified by poor airflow, mechanical shock, hot-vehicle storage, or aggressive charging. Reducing recurrence requires consistent field evidence capture, a disciplined lab workflow, and stronger vendor acceptance gates.
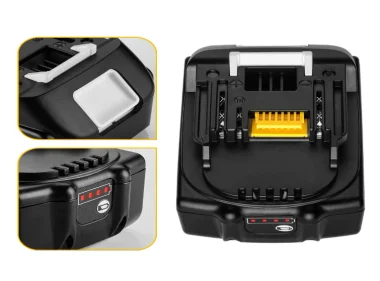
Makita 18V Cell Chemistry Choices: Tradeoffs, Tests & Procurement
Selecting a chemistry for Makita-format 18V packs is a tradeoff. NMC/NCA delivers highest energy density and peak power but needs strict thermal paths and sophisticated BMS. LFP gives superior thermal stability and long cycle life but increases pack weight and requires different charge voltage/SOC approaches. LMO or blended chemistries serve high-pulse niches. Always validate vendor claims with a reproducible acceptance protocol (OCV, IR, thermal, cycle-spot tests) rather than trusting datasheets alone.
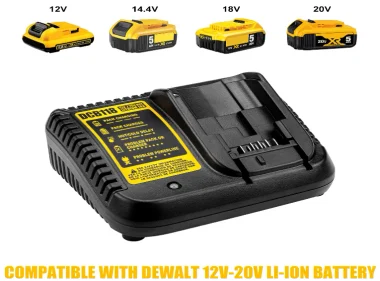
DeWalt Charger: Charge Curves & Model Compatibility
DeWalt’s charger family includes legacy combo units, 20V MAX chargers, high-amp rapid chargers and FLEXVOLT-aware models — each with distinct current profiles and handshake expectations. Mechanical fit alone does not guarantee safe or full charging. Thermistor mapping, BMS ID/EEPROM behavior and charger current limits determine whether a pack charges normally, derates, stalls, or is rejected. Follow the acceptance and QA matrix below to validate compatibility and reduce RMAs.

Short-Circuit Protection: Variations Among Modern Tool BMS Designs
Short-circuit protection in modern tool packs spans simple fuses, active FET cutoffs, redundant sensors, staged ICs, and hybrid combinations. This guide outlines the full architecture landscape, compares sensing and FET arrangements, provides a reproducible field-to-bench test workflow with acceptance metrics, and includes procurement clauses for enforcing safety, traceability, and long-term reliability.
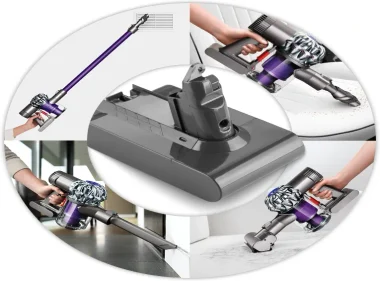
Universal Battery Formats: More Realistic? The Current Industry View
This article evaluates whether a true universal power-tool battery format is feasible, what forces support or block it (regulation, OEM incentives, technical obstacles), and what buyers, fleets and aftermarket suppliers should do now.
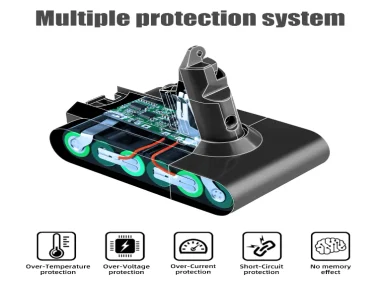
Tool Battery BMS Miniaturization: Protection IC & MOSFET Trends
Shrinking protection ICs and more compact MOSFET power-paths are reshaping modern tool-battery BMS architecture. This brief explains the engineering tradeoffs (thermal, EMI, reliability, manufacturability), how to test and validate miniaturized designs, and what procurement and maintenance teams must require from vendors.
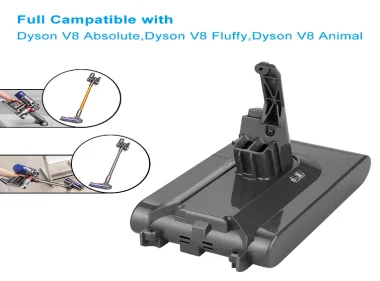
New Testing Methods for Detecting Micro-Shorts in Li-ion Cells
Early detection of micro-shorts (incipient internal shorts) is critical for pack safety and service life. This guide explains modern detection methods — signal analytics, acoustic/thermal/gas sensing, ultrasound, ICA/EIS, and lab-grade imaging — along with a reproducible test matrix and actionable procurement/operational steps. All invasive tests must be performed only in qualified laboratories.
How Charge Algorithm Are Evolving in 2025:Implication for Tool Battery
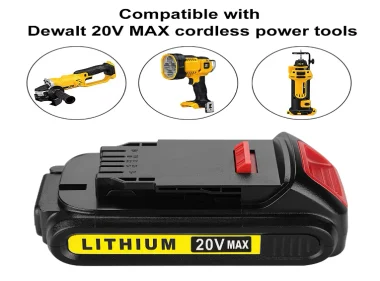
Charging speed, safety, and lifespan are no longer defined solely by cell chemistry — they’re now shaped by software. In 2025, power-tool batteries and chargers entered a new era where adaptive, machine-learning-based charging logic determines how efficiently and safely a pack can recover energy. These evolving algorithms don’t just shorten downtime; they reshape warranty risk, compatibility standards, and procurement strategy across the entire cordless ecosystem. Understanding how these smart systems think — and how to validate them — has become essential for OEMs, aftermarket vendors, and fleet operators seeking to stay competitive and safe in the new charging landscape.

Thermal Runaway Research: New Findings Relevant to Power-Tool Packs
This guide condenses current thermal-runaway (TR) research into practical insights for pack engineers, safety officers, fleet operators, aftermarket suppliers, and repair technicians. It outlines reproducible validation tests, transparent supplier requirements, and response protocols designed to reduce liability, improve pack safety, and enable data-driven procurement decisions.
Understanding Bosch C3 Charger Failure Code — Seller Diagnostic Guide
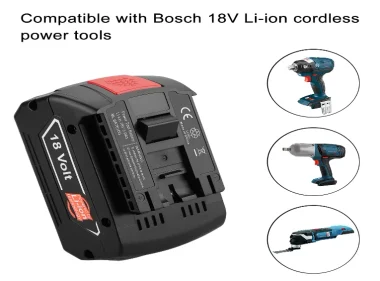
This guide provides a consistent diagnostic framework for Bosch C3 chargers — decode LED patterns, perform field triage, follow safe bench-testing steps, and decide between repair or replacement. It’s designed for e-commerce sellers, warranty processors, and B2B technicians seeking to reduce false returns, improve turnaround speed, and maintain traceable service records.
Let our battery power your success
Transform your path to success with our advanced battery technologies, while enjoying the perks of free technical guidance and tailored design services to meet your unique requirements.